Part 1 - Maptiles: Difference between revisions
No edit summary |
|||
| Line 1: | Line 1: | ||
{{incomplete}} | |||
So now we get to one of the most important building blocks of making your game, maptiles. Without maptiles you won't have anything to build your maps with. And without maps, there's nowhere for your epic adventure of epicness to take place. But before we begin, let's get a few things straight. This section is about how to draw maptiles in the OHRRPGCE; it is '''not''' a tutorial about how to draw good tiles in general, as that would best be the focus of an art tutorial rather than a walkthrough as to how to make your game. We will cover a few of the artistic aspects of making tiles (it's unavoidable), but we won't be going much more in-depth than how to get tiles to blend, how to layer things together, etc... There won't be any discussion as to how to make something look like Secret of Mana, as there are already many tutorials about that out on the Interwebs. Now that that's sorted out, let's get to it. | So now we get to one of the most important building blocks of making your game, maptiles. Without maptiles you won't have anything to build your maps with. And without maps, there's nowhere for your epic adventure of epicness to take place. But before we begin, let's get a few things straight. This section is about how to draw maptiles in the OHRRPGCE; it is '''not''' a tutorial about how to draw good tiles in general, as that would best be the focus of an art tutorial rather than a walkthrough as to how to make your game. We will cover a few of the artistic aspects of making tiles (it's unavoidable), but we won't be going much more in-depth than how to get tiles to blend, how to layer things together, etc... There won't be any discussion as to how to make something look like Secret of Mana, as there are already many tutorials about that out on the Interwebs. Now that that's sorted out, let's get to it. | ||
Revision as of 17:42, 28 May 2016

So now we get to one of the most important building blocks of making your game, maptiles. Without maptiles you won't have anything to build your maps with. And without maps, there's nowhere for your epic adventure of epicness to take place. But before we begin, let's get a few things straight. This section is about how to draw maptiles in the OHRRPGCE; it is not a tutorial about how to draw good tiles in general, as that would best be the focus of an art tutorial rather than a walkthrough as to how to make your game. We will cover a few of the artistic aspects of making tiles (it's unavoidable), but we won't be going much more in-depth than how to get tiles to blend, how to layer things together, etc... There won't be any discussion as to how to make something look like Secret of Mana, as there are already many tutorials about that out on the Interwebs. Now that that's sorted out, let's get to it.
By the End of This Section you Should...
- be able to edit maptiles and maptile sets
- add default passability to certain tiles
- create animation sets for tiles
Maptiles
In a nutshell, maptiles are the set of tiles that you will use make your maps with. Each set of maptiles will typically be used for a certain "theme". You could, for example, have maptiles for a dungeon, or for a field, or a castle, etc... To edit your maptiles, fire up Custom and navigate to "Edit Graphics".
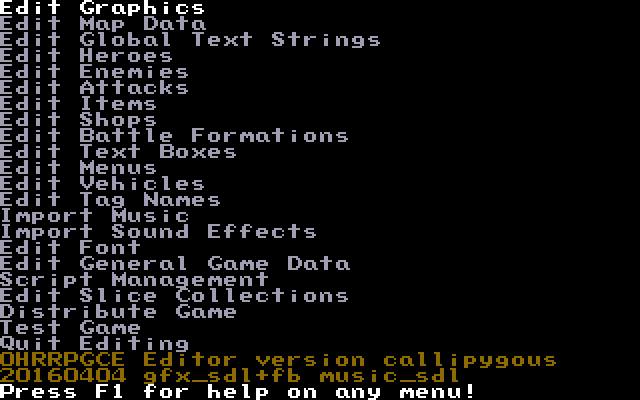
After getting to the Edit Graphics menu, you should see a bunch of options before you. Now, as attractive as working with hero and enemy graphics may look (and indeed, working on those can be quite fun) we'll ignore all the rest for now. You might, however, notice that at the bottom there's an option to Import/Export Maptile sets. It is indeed possible to work with your art in an external program and then import said art into the OHR, but that's for a later segment. For now, go to "Edit Maptiles".
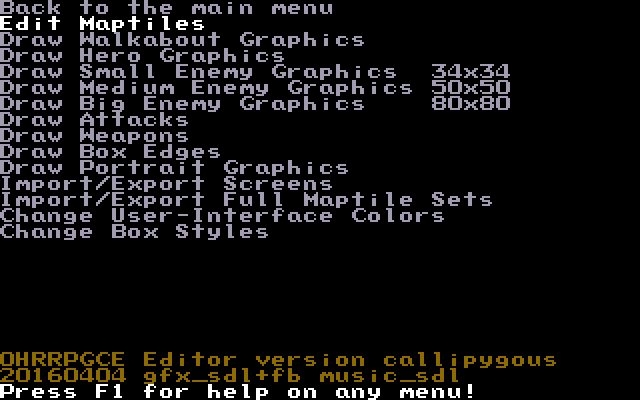
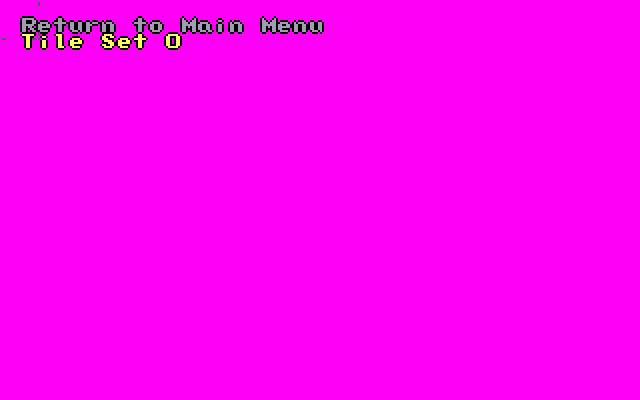
The next screen will be rather sparse, with only "Tile Set 0" showing up. This is because we haven't made any graphics yet, but as you progress in your game, you'll rapidly add to this. Some games can have as few as a single set of tiles, whereas others can have hundreds (though if you've got hundreds of tilesets in a single game, you're probably doing something either strange, revolutionary, or obsessive). On average, a short game won't have more than a dozen or so tilesets, but this depends entirely on you and there's no set basis for what is an "acceptable" number for tilesets.
Pro Tip |
 |
|
Before starting with your tiles, it's a good idea to first plan out exactly what it is you need. For short, casual games, this might not be as important. But if you're going to have a dozen (or even a few dozen) or so tilesets, it's a good idea to organize what each tileset will be, what map or maps each will be used in, and how you're going to organize them. This is especially true if you're going to be using a lot of layers, but more on that in another chapter. |
|
For now, we won't worry about organizing tiles or anything else. We'll get right down to the meat and get to the specific tiles. Select "Tile Set 0" to proceed to the next screen.
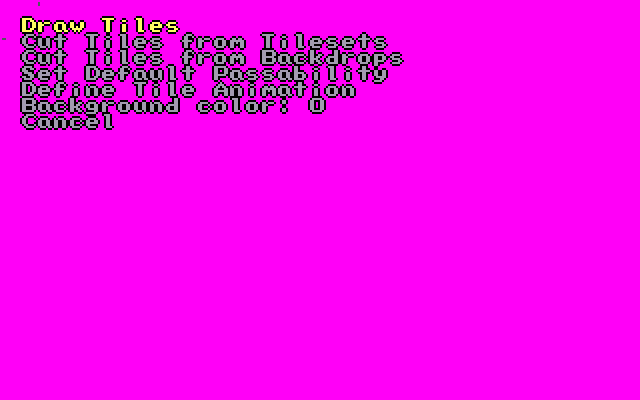
You will now be at the screen from where you can control all the different things about your tileset. They are:
- Draw Tiles
- Cut Tiles from Tilesets
- Cut Tiles from Backdrops
- Define Tile Animation
- Cancel
We'll get to all of the rest eventually, but for now, select "Draw Tiles" so we can get to making some tiles.
Huh? What's this? A blank screen and, whoah, my mouse works! Yup, this area is one of the few places where you'll get mouse support in the OHRRPGCE. This massive blank screen is not just a blank screen, it's actually your entire tileset. It's blank, because we have yet to draw anything. Before we get drawing though, let's have a look at just what a tile is.

What is a tile?
Tiles are small rectangles which are placed on the map in a manner not unlike the tiles on your kitchen wall, hence the name "tiles". Kitchen tiles come in different variants, for example with flowers printed on them, or ornaments. They can arranged to have rows of flowers or one ornament running under the ceiling. Tiles in the map editor too might have different motives, like parts of a house, trees, grass and so on, and can be likewise be arranged to your liking, thus creating your desired map.
How are tiles organized?
Tiles in the OHRRPGCE are 20x20 pixels in size, and are organized in so called 'Tilesets'. These are essentially graphic files containing many tiles, to be exactly 16 tiles horizontally and 10 tiles vertically (320x200 pixels). Out of these tileset you can choose single tiles or whole blocks and insert them into your map, so the arrangement of tiles in the set can (and most certainly will) be completely different from your map. It is good advice to keep the tiles in the set organized thematically, for example walls to walls and trees to trees. Since most games won't rely on only one tileset, it ist further good practice to organize the tilesets thematically, i.e. having a 'village', a 'city' and a 'indoor' tileset in seperate files, to keep them managable.
Drawing tiles
The grass tile
The "grid"
Breaking up monotony
Passability
Animation
Introduction | Getting Started | Artwork | Map Construction | NPCs | Tags | Making a Hero | Attacks | Items | Battles | Vehicle Use | Sound and Music | Text Boxes | Custom Menus | Slices | Plotscripting | Distributing a Game
Appendices: Keyboard Conventions | Sample Scripts

