Making a Hero
Before you can test out your map and your doors, you need to make a hero. Go back up to the main menu, and into the graphics menu.
First, choose Draw Walkabout Graphics. Draw a set of walkabout graphics for your hero. (or you can just use the walkabout graphics you drew already)
If you want to do it now, you can pick Draw Hero Graphics, and draw the graphics that your hero will use in battle, but you will be able to test your map without them.
Pick Edit Hero Stats from the main menu.
Highlight Name: and type in a name for your hero.
By highlighting <-Pick Hero #-> and pressing left and right you can choose other heroes to edit. Just make hero 0. When you start playing a new game, you begin with hero 0.
By picking Appearance and Misc... you can set the hero's picture and palette. If you drew battle pictures for your hero, you can choose them here too.
By default, the hero starts in the top left-hand corner of the map. You can change this in CUSTOM.EXE by going into the map editor and pressing CTRL+H on the tile where you want the hero to start.
Okay, now you are ready to test out your game. Exit, and save changes.
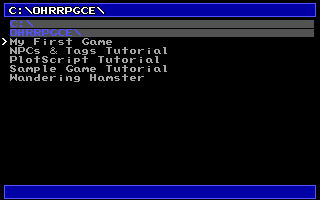
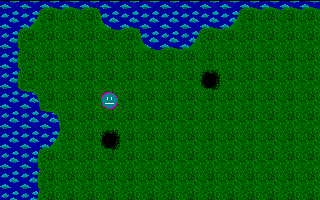
Pick your game from the menu. Press a key to skip the title screen, which will be a black screen right now, and voila! You will be able to walk your hero around your map. Try out your walls, try out your doors.
Getting Started | Making Maptiles | Making Walkabout Graphics | Importing Graphics | Map Construction | NPCs | Text Boxes | Tags | Making a Hero | Items | Shops | Customizing Menus | Battles | Stun, Regen, Poison, and Mute | Sound Effects | Animating Maptiles | Zones | Vehicles | Distributing a Game
Bosses | Making Complex Attacks | Combat Dialogues | Enemies that respond to a certain attack | Ways to refer to a hero in a script | Creating Dungeons | Conditional Door Links | Permanent Stat-Boosters | Creating Cutscenes | Using the Mouse in the Game | Making Android games


